Menu 1.2 - Order Entry
Parameter Entry Maintenance
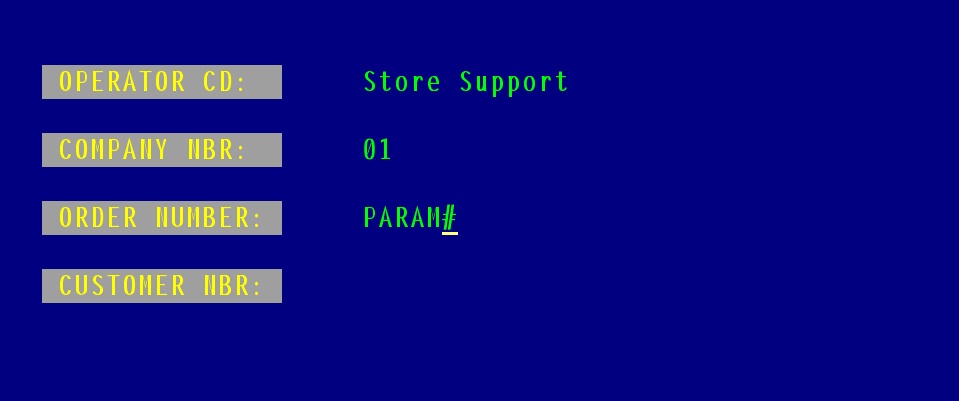
The Parameter Entry Maintenance screen allows you to customize some of the Order Entry functions by port or by system-wide default. The modules are shipped with the default parameter preset to the most popular options. They should be reviewed prior to using the programs. To access the parameter maintenance screens, type "PARAM" at the Order Number Prompt.

If the parameters of your port have been setup, they will automatically display as seen below.

Otherwise, the program prompts for the following line:
ENTER PORT#, 'DEFAULT', <ENTER> FOR PORT '?', OR 'E'ND:
Note: The question mark in the above prompt is always the port number of the terminal you are currently using. If you select a specific port that has not been previously setup, the default parameters are automatically loaded to minimize changes.
- The prompt line in the above figure for OE.PARAM ENTRY MAINTENANCE displays your options. Choose one:
ENTER PORT#, 'DEFAULT', <CR> FOR PORT: '1', OR 'E'ND:
NOTE: Specific settings on ay port override the default settings.
- Once you have selected an option from above, the information displays with the following prompt line:
ENTER LINE#, BACKOUT, DELETE, EDIT, 0 TO ACCEPT:
- Enter a line number (LINE#) of the field to change:
1. DISPLAY HEADER/SHIP-TO BEFORE LINE INPUTS - Choose 'n' to skip the Header Detail screen and go straight to Line Input from Customer Number input: type 'n' to display the Header Detail screen after the Line Input screen.
2. HEADER SCREEN STOPS - Select any one or several Header screen fields for automatic stop and prompt when the Header screen displays. Separate multiple field numbers with semicolons. You can also "require" a field by typing 'r' after the field number.
Example - To require an authorized buyer and stop at CUST PO#, type '1R;4.'
3. TOTAL SCREEN STOPS Choose the same option and properties as for Header Screen Stops. This feature is useful for shipping terminals to stop at "Ship Method," weight, and freight. The stops at "Cash Received" are controlled by parameters elsewhere.
4. DISPLAY FINAL BEFORE LINE INPUTS (Y/N) 'y' allows you to go directly to the Total screen after the Header screen.
- 'B'ackout of the record without filing changes.
- 'D'elete the entry from the parameter file.
- 'E'dit sequentially from top to bottom.
- 0 to accept the record and write to the parameter file.
**Beware of the Delete option. If you delete an entry for a particular port, that port will use the default parameter. If you delete the default parameter, Order Entry will not run on ports with any individual parameter setup.
Last Updated 07/10/08 |


