
Signature Capture PC Software Installation Documentation
Windows XP Professional installation instructions for the HHP8810 Signature Capture pad as of 10/14/04
First, you will need to map a network drive to the signature capture server. To do this:
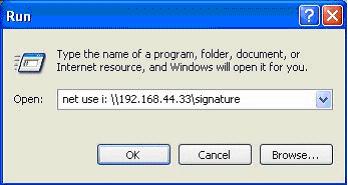
You will briefly see a black window come up and go away. This step will be complete.
Next, install the Signature Capture Software on each PC with a signature pad attached. To do this:
- Close all programs currently running on your computer.
- Click START>RUN
- Type in: i:\sigcap\hhp8810\X.XX\install.bat
NOTE: X.XX represents the current version of signature capture. Contact DST to find out what the latest version of signature capture is, currently it is 2.24.
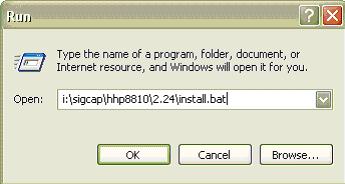
You will see the following window on your screen:
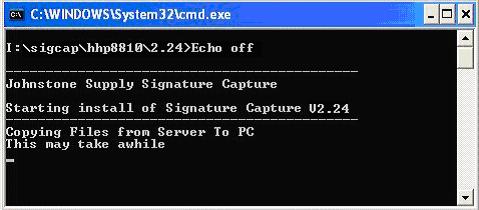
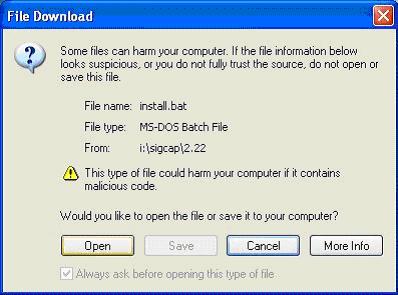
Please be patient while the necessary files are being copied to the PC. Once this is complete you will get the File Download dialog box, click OPEN.
Next, you will see the welcome screen which reminds you to close all running programs. Once you have confirmed that your programs are closed, click OK.
The next window will look like this:
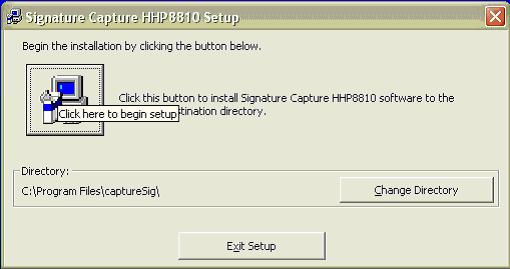
Click the box, with the computer icon (see above), to begin the installation.
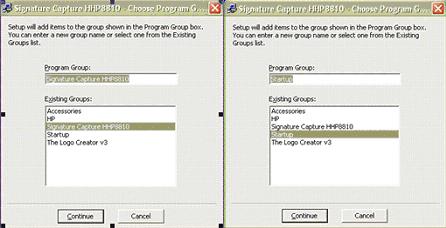
Next, you will be prompted for two different program groups, accept what is already highlighted and click Continue. The first program will be Signature Capture and the second program will be Startup.
Next, you should see the installation progress and then Signature Capture Install Successful, click OK.

Once your software is installed on the PC, you need to tell it where to store the signatures. To do this:
Click START > PROGRAMS > STARTUP > Signature Capture HHP8810 to start the Signature Capture software running and to open the signature capture window on the PC.
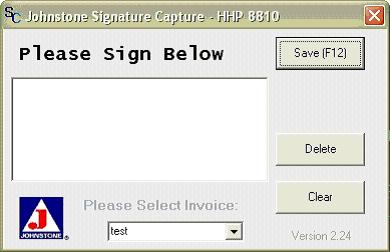
Click the Johnstone J Logo  to get into the Application Settings. to get into the Application Settings.
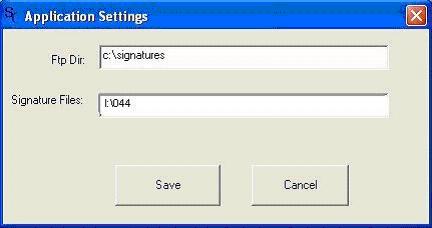
The Ftp Directory field remains C:\Signatures
In the Signature Files field type I:\ your store number, for example I:\044
Click SAVE, then click Delete on the signature capture window to close it out.
|


